
For anyone engaged in vinyl cutting and crafting, achieving clean and precise cuts is essential for creating stunning designs. However, one common challenge that often arises is lifting corners on vinyl projects. These annoying and unsightly corners can ruin the overall aesthetic of your creation and affect its durability. But fear not! This guide will explore valuable tips and techniques to help you address how to cut vinyl and fix lifting corners when working with vinyl. Whether you're a seasoned crafter or just starting, mastering this skill will elevate the quality of your adhesive vinyl projects and keep those corners firmly in place.
What is Vinyl Cutting?
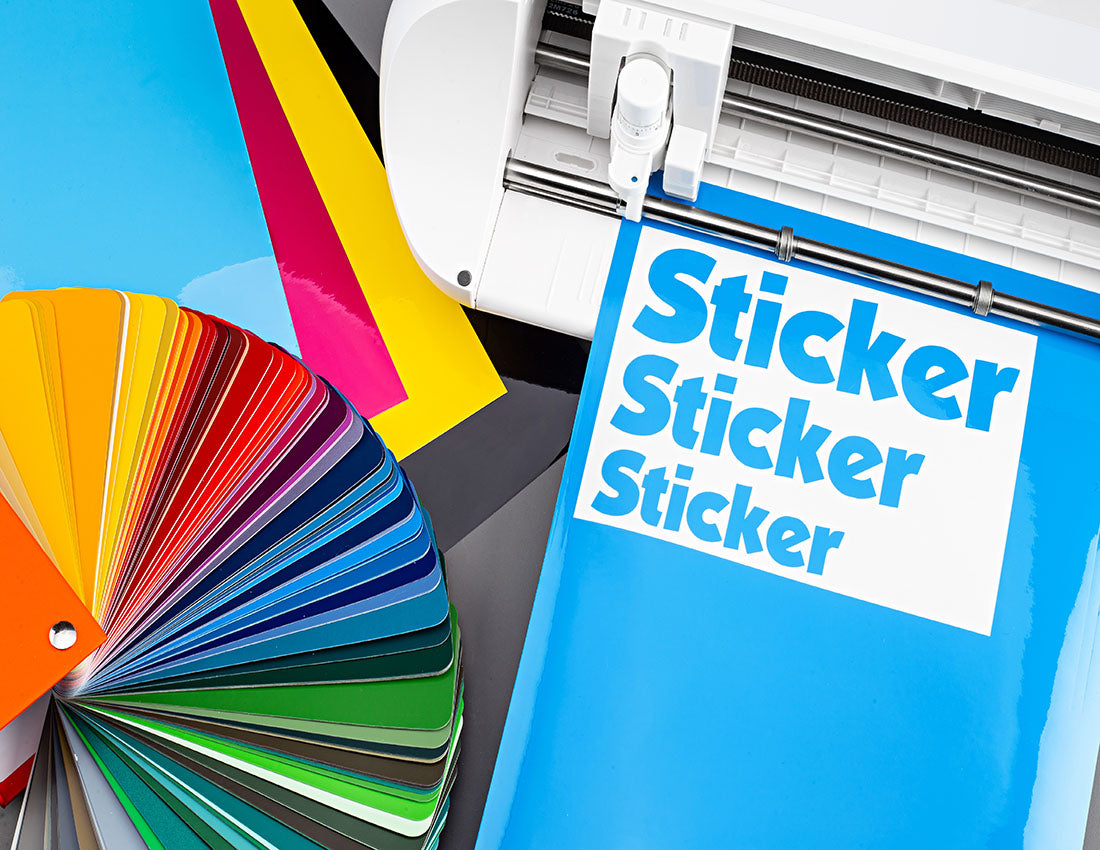
Vinyl cutting is a versatile crafting and design technique that uses a heat transfer vinyl cutter or plotter to precisely cut intricate shapes, letters, or designs from sheets or rolls of vinyl material. This process is commonly used to create custom decals, stickers, labels, signage, and other decorative or functional applications.
Here's how do you cut vinyl in one of the best ways possible:
- You begin by designing your desired shape, text, or image using graphic design software such as Adobe Illustrator, CorelDRAW, or any other desktop vinyl cutter software. This design is then converted into a digital vector file.
- The digital design is converted into a vector file format, which defines the precise paths and curves of the design. Vector graphics ensure that the cuts are clean and sharp.
- The vinyl material is loaded onto a cutting Cricut mat or roll within the vinyl cutter or plotter. The Cricut machine cutting head is positioned at the starting point of the material.
- The permanent vinyl cutter, guided by the vector file, precisely cuts out the design from the vinyl material. It does so by following the vector paths, cutting through the top layer of the vinyl while leaving the backing material intact.
- After cutting, the excess vinyl ("weeds") is carefully removed by hand or using a weeding tool, leaving behind the desired design on the backing material.
How does it Work?
The vinyl cutting process involves several steps, from design creation to application. Here's a detailed breakdown of how vinyl cutting works:
Design Creation:
- Use graphic design software and start by designing your desired shape, text, or image. Popular options include Adobe Illustrator, CorelDRAW, or dedicated vinyl cutting systems like Sure Cuts, A Lot (SCAL), or VinylMaster Cut.
- Create your design as vector artwork to ensure clean, precise cuts. Vector graphics consist of mathematical paths and curves, allowing for scalable and high-quality designs.
Vectorization:
- Convert your digital design into a vector file format (e.g., SVG, AI, EPS). Vectorization is crucial as it defines your design's exact cutting paths and lines.
- Adjust cut settings such as speed and pressure based on the type and thickness of the vinyl material you plan to use.
Material Preparation:
- Load a sheet or roll of vinyl material onto the cutting mat or directly put it into the vinyl cutter.
- Secure the material in place to prevent shifting during cutting. Many vinyl cutters have adjustable pinch rollers for this purpose.
Cutting Process:
- Position the vinyl cutter's cutting head at the starting point of your material.
- Send the vectorized design to the vinyl cutter via a connected computer or memory card. The cutter interprets the design and begins cutting.
- The cutting head precisely follows the vector paths, cutting through the top layer of the vinyl material while leaving the backing material untouched.
- Once the cutting is complete, the machine returns to its starting position.
Weeding
- After cutting, carefully remove the excess cricut vinyl from around and within your design. This process is known as "weeding."
- Use a weeding tool or tweezers to lift and peel away the unwanted vinyl decal, leaving your intended design on the backing material.
Transfer Tape Application:
- Apply a transfer tape or adhesive backing over your cut vinyl with a Cricut design space. The transfer tape helps you lift the design off its backing and transfer it to the target surface.
Application:
- Position the design with the transfer tape onto the desired surface, such as a wall, window, T-shirt, or sign.
- Press the vinyl design onto the surface, ensuring it adheres firmly.
- Gently peel away the transfer tape, leaving the vinyl design securely in place.
Vinyl cutting is a precise and versatile method for creating custom graphics and designs, making it a valuable tool for various applications, including signage, apparel customization, home decor, and more. You can achieve professional-looking results for your vinyl projects with practice and attention to detail.
What’s So Bad About Lifting Vinyl Corners?
Lifting vinyl corners can be problematic for several reasons, and it's something that crafters and vinyl enthusiasts often strive to avoid. Here's why lifting vinyl corners is considered undesirable:
Aesthetics: Vinyl projects are typically created to achieve a clean and professional appearance. Lifting corners can disrupt the design's overall look, making it appear incomplete or flawed. This can be especially problematic for projects that require precision and visual appeal, such as custom signage, wall decals, or decorative items.
Durability: Lifting corners can compromise the durability and longevity of your vinyl project. When corners are not adequately adhered, they are more susceptible to peeling or curling over time. This can be especially troublesome for items exposed to wear and tear, such as vinyl decals on vehicles, outdoor signs, or frequently washed apparel.
Incomplete Adhesion: Lifting corners indicate that the vinyl material is not securely bonded to the substrate (surface) it's applied to. This insufficient adhesion can lead to the iron on vinyl peeling off, especially when subjected to environmental factors like moisture, temperature changes, or physical stress.
Potential for Rejection: Lifting corners may result in rejected or unsatisfactory products in commercial settings, such as professional signage and branding. This can lead to wasted materials, time, and resources, which can be costly for businesses.
What Causes Vinyl Sign Corners to Lift?
Lifting corners on vinyl signs can occur for various reasons, and understanding the underlying causes is crucial for preventing this issue. Here are some common factors that can lead to removable vinyl sign corners lifting:
Improper Offset Issues
Improper offset, also known as offset printing issues, can affect the quality and accuracy of printed materials. Offset printing is a widely used method that involves transferring ink from a plate to a rubber blanket onto the printing surface, such as paper. When offset issues occur, they can result in misalignment, blurred text or images, color discrepancies, and other print quality problems. Here are some common improper offset issues:
- Misregistration
- Ghosting
- Color Variation
- Blanket Smashing
- Slurring
Worn Out or Dirty Blade Holder
A worn-out or dirty blade holder can significantly impact the quality and precision of vinyl cutting. The blade holder is a crucial component of a glitter vinyl cutter, as it holds the cutting blade securely in place and ensures that it follows the precise cutting path.
Visual Inspection: Examine the blade holder for signs of wear and tear, such as visible damage, cracks, or excessive looseness. If the holder is damaged or worn, it may not securely hold the cutting blade.
Replace the Blade Holder: If the blade holder is worn or damaged, replace it with a new one. Most vinyl cutter manufacturers offer replacement blade holders designed for their specific cutter models.
Disassemble the Blade Holder: Carefully disassemble the blade holder according to the manufacturer's instructions. This typically involves removing the blade, housing, and other components.
Clean the Components: Use a lint-free cloth or cotton swab dipped in isopropyl alcohol to clean the blade holder's interior and exterior surfaces. Pay close attention to areas where dirt, debris, or adhesive residue may have accumulated.
Clean the Blade: If the cutting blade is dirty or contaminated, remove it from the holder and clean it separately. Be cautious when handling the blade, as it is sharp. Cleaning the blade can improve cutting performance.
Reassemble Carefully: Reassemble the blade holder and ensure all components are properly aligned and secured. Follow the manufacturer's instructions for reassembly.
Graphic Smaller than the Blade Arc
When the graphic or design you're trying to cut is smaller than the blade's arc, it can lead to issues with precision and accuracy in vinyl cutting. Here's how to address this problem:
Increase the Graphic Size: In your design software, resize the graphic to ensure it is larger than the arc or curvature of the cutting blade. This will allow the blade to follow the design's contours more accurately.
Adjust Blade Offset: Check the settings on your vinyl cutter for blade offset or blade offset compensation. Increasing the edge offset slightly can help compensate for the blade's physical width, ensuring the cuts align with the graphic.
Use a Smaller Blade: Consider using a smaller or thinner cutting blade if possible. Smaller blades can make tighter curves and intricate cuts more accurately, especially for smaller graphics.
Fine-Tune Blade Settings: Adjust the blade's settings, such as pressure and depth, to match the material you're cutting and the size of the graphic. Fine-tuning these settings can improve cutting accuracy.
Add Weed Lines or Bridges: If the graphic is too small for precise cutting, consider adding weed lines or bridges to connect smaller design elements. These temporary connections can help keep pieces in place during cutting and make weeding easier.
Conclusion
Addressing vinyl cutting issues related to a worn-out or dirty blade holder, improper offset, or graphics smaller than the blade's arc is essential for achieving precise and high-quality vinyl cuts. Regular maintenance, careful attention to settings, and adjustments are key to resolving these challenges and ensuring successful vinyl-cutting projects. Whether you're a professional sign maker, a craft enthusiast, or a business owner, how do you cut vinyl matters a lot, and mastering these troubleshooting techniques will help you consistently produce clean and accurate vinyl designs, contributing to the success of your creative endeavors.
